


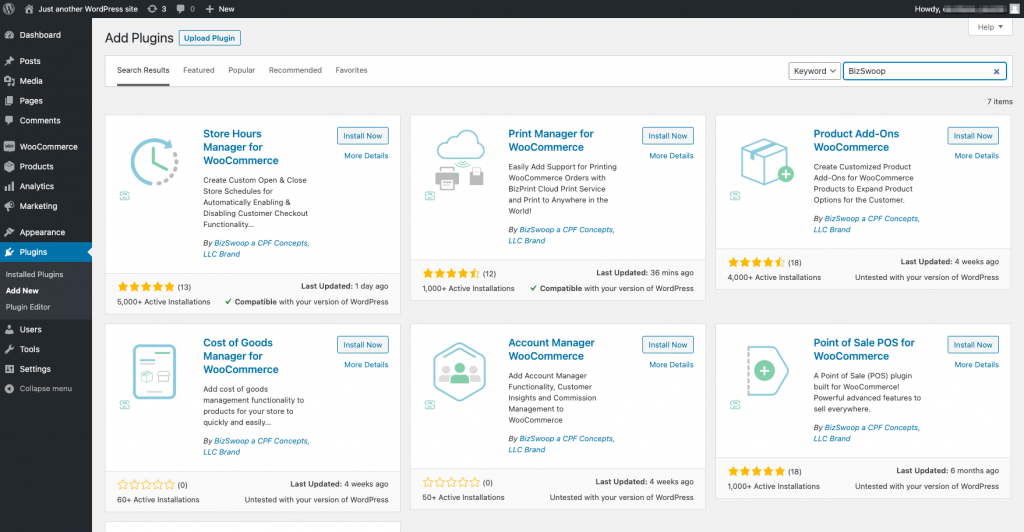
Step 1: Login to WordPress Admin Dashboard
Step 2: Click Plugins Menu Option
Step 3: Click Add New
Step 4: Search Keyword: BizSwoop, Click Install Now Print Manager for WooCommerce
To access the BizPrint Cloud Service, you will need a BizSwoop Single Sign-on Account. The account is free to sign-up.
Sign-up for BizSwoop Account
After registering, an activation email will be sent to the registered email address.
Clicking on the link activates the account. After account activation, login to account.
*Remember to check Spam folder for activation email from no-reply@login.bizswoop.app

*We recommend the Plus plan for businesses.

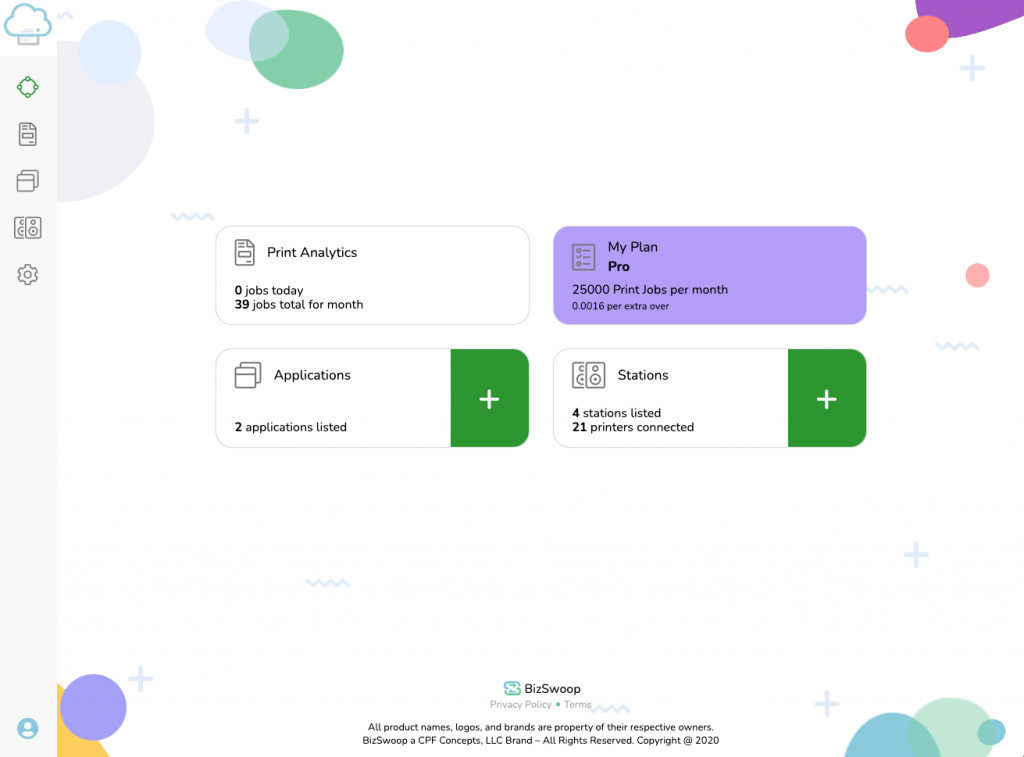
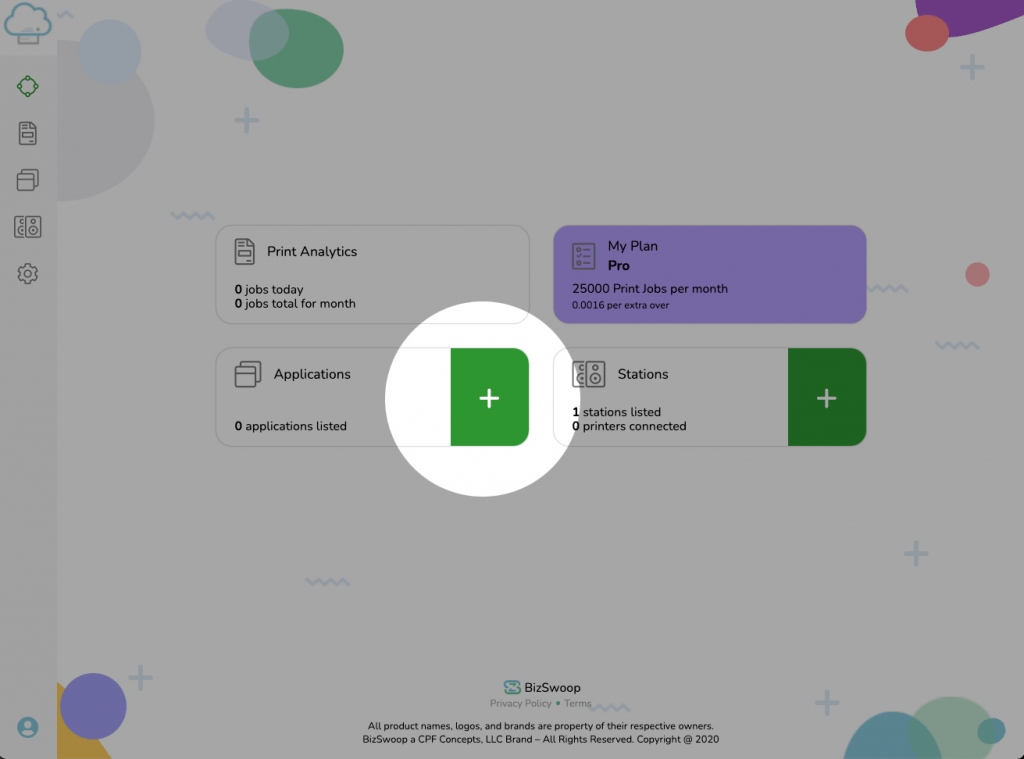
BizPrint Cloud Print Dashboard will provide all the information about your printing behavior, number of print jobs, connected printers and connected websites. Allowing you to easily manage your printing requirements.
*BizSwoop Account Sign-in Required
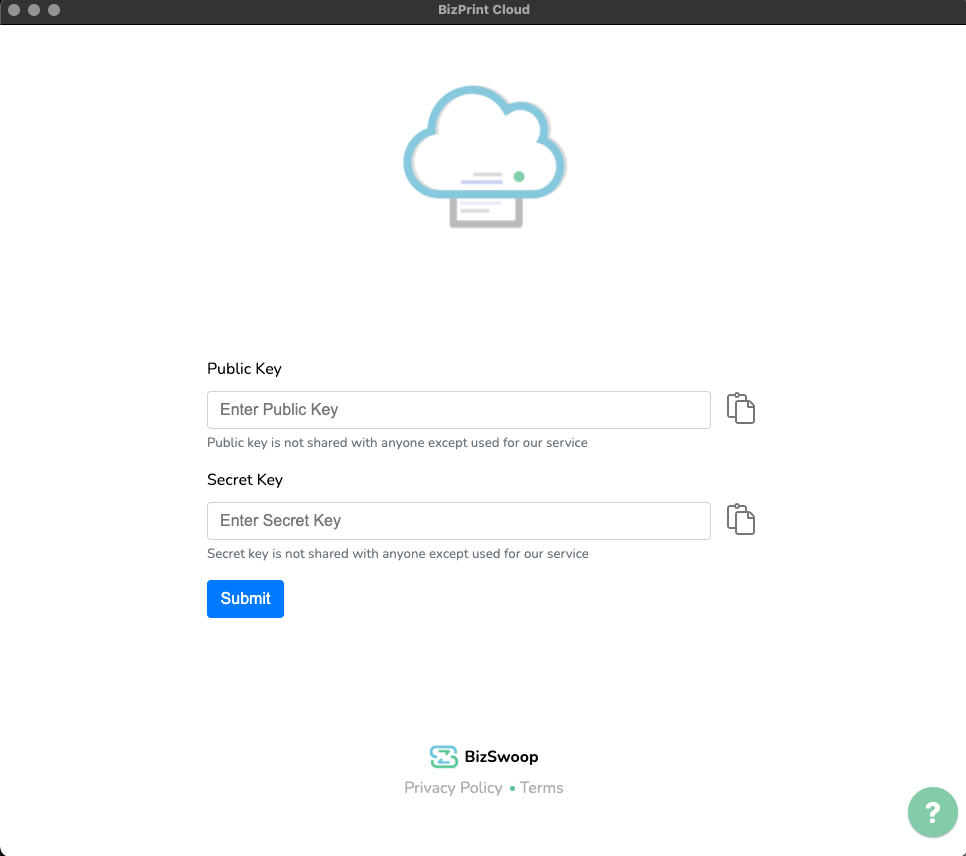
The BizPrint Cloud App is used to send the print jobs from your website to your local machine which is connected to your printer. After installing the BizPrint Cloud App, installed local printers will automatically connect and register to the BizPrint Cloud Print Service.

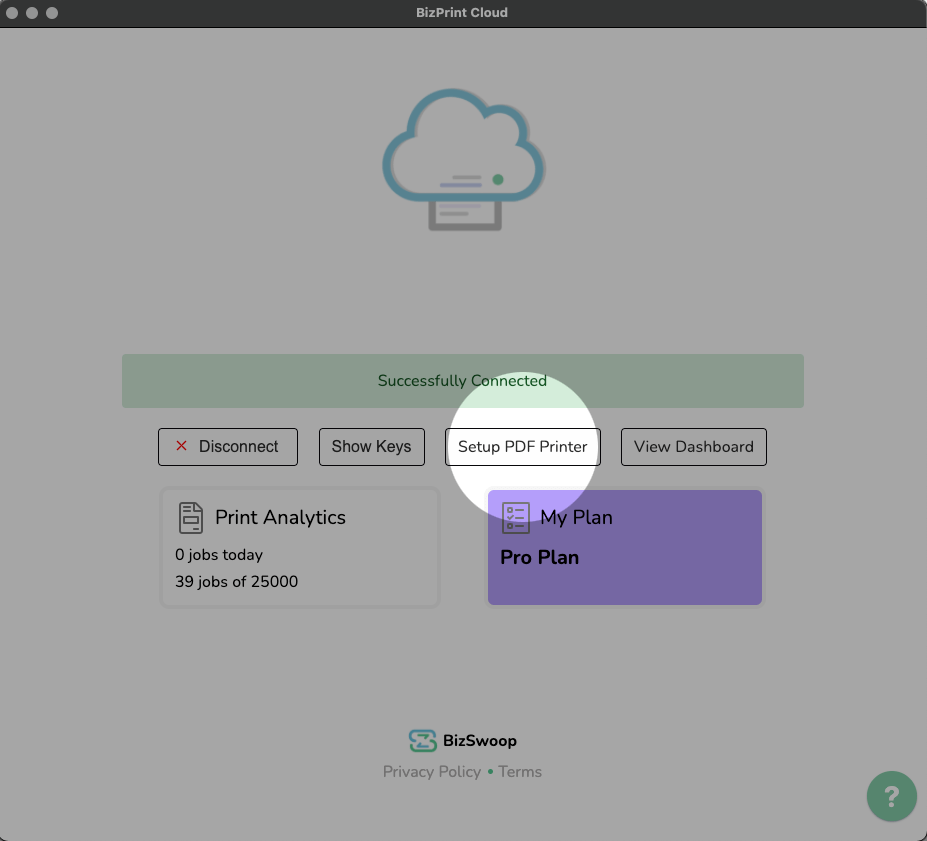

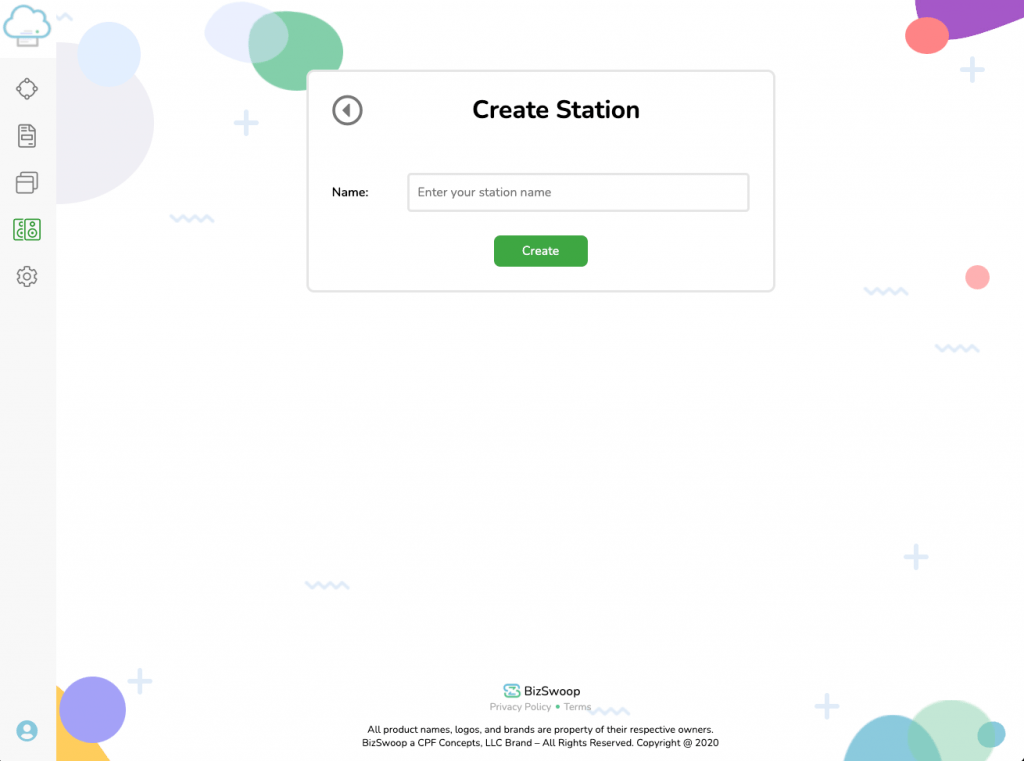
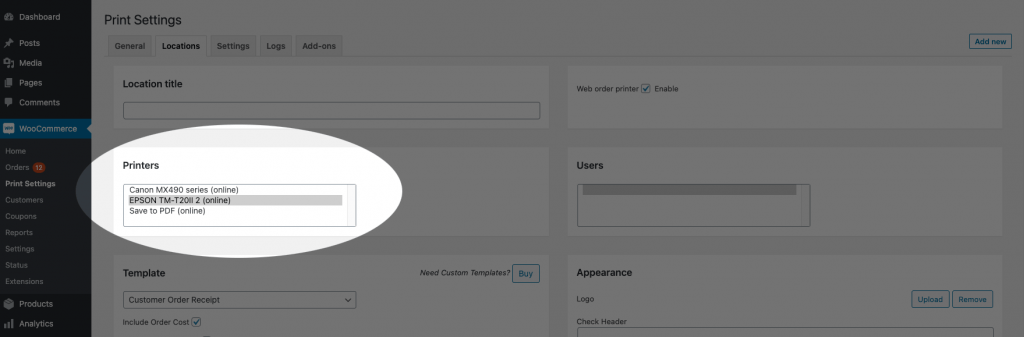
Now the local printers are registered & connected to the BizPrint Cloud Service for use! You can view all the printers connected to the cloud print service under the Station you created in the BizPrint Dashboard. Printers will also now show in the Print Manager Plugin for WooCommerce to use for order printing.
Important: To use the automatic printing setting for the Print Manager plugin, you must select the specific local printer as the Default Printer in settings for Windows or MacOS printers.
*Network Printers don’t require the Default Printer setting to be assigned.
For Windows: To choose a default printer, select the Start button and then Settings. Go to Devices > Printers & Scanners > Select A Printer > Manage. Then Select Set as default.
For MacOS: To choose a default printer. Select Apple Menu > System Preferences, then click Printers & Scanners. Open Printers & Scanners Preferences. Click the “Default printer” pop-up menu, then choose an option. If you want the same printer to always be the default printer, choose that printer.

Power Mode/Sleep Mode: For printing to occur, the device running the BizPrint Cloud app needs to be online and connected at all times to receive print jobs. We recommend disabling the Sleep/Idle/Nap mode for the device running the BizPrint Cloud app.
*If the device goes into Sleep/Idle/Nap mode print jobs will not occur until the device comes back from the Sleep/Idle/Nap mode. Print jobs received while in Sleep/Idle/Nap mode will automatically be placed in archive status. If you want print jobs to print once the Sleep/Idle/Nap mode ends, disable the Archive print jobs setting under your BizPrint Cloud Dashboard > Settings.

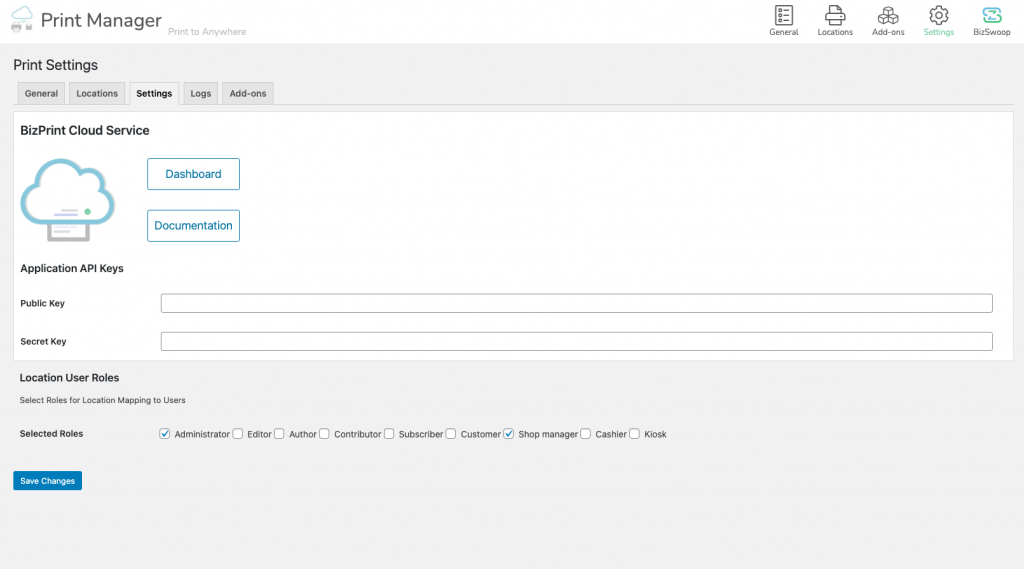
The Print Manager plugin is used to send the print jobs from your WordPress WooCommerce website to the BizPrint Cloud Service. After the print job is received by the BizPrint Cloud Service, the print job connects to the BizPrint App installed locally to start printing.
*NOTE: The computer must remain connected to the Internet and local printer in order to receive print jobs.
Only if you are a current or existing user of Order Receipt Print using Google Cloud Print. If a new user, review tabs for Installing on Plugins page by search or by upload.

Don’t Worry. It’s a Free download!
DOWNLOAD NOW
Yay! You are now connected and setup on BizPrint Cloud Service. You can now print orders directly from your website to your local printers.

Happy Printing.
*All product names, trademarks and registered trademarks are property of their respective owners.